[Images] Overlay
Q100053: [Images] Overlay
Overlays an image onto one or more input image files.
| Parameter | In/Out | Description | Other Info |
|---|---|---|---|
| File source | In | The pathname(s) of source images that will have the overlay image placed upon them. This list of image files could come from any source, such as the FileList output parameter from the [Files] Find module. |
|
| Target folder | In | The destination folder for the modified source image files. | |
| Overlay image | In | The overlay image that will be placed upon each of the source images. This should typically be a PNG file that has a transparency layer. The overlay image is not modified in any way, so if it is larger than the source image, part of it will be clipped off the edge. |
|
| Alignment | In | Choices: Resize to fit, Top Left, Top, Top Right, Left, Center, Right, Bottom Left, Bottom, Bottom RightHow to align the overlay image in reference to the source image. For example, if bottom right is selected, the overlay image will be placed in the bottom right corner of each source image. If "resize to fit" is selected, the overlay image will be resized to exactly match the source image, which means it might be distorted. This is best limited to overlay images that contain only abstract shapes or patterns. |
Default: BottomRight |
| Opacity (%) | In | The overlay image opacity percent, from 0 through 100. 100 means the overlay image will be overlaid as-is. 0 means the overlay image will not be visible. If the overlay image is a PNG file with a built-in transparency layer, the transparency setting for each pixel will be combined with (multiplied by) your selected opacity. For instance, if a given pixel your overlay image has a "baked-in" opacity of 60 percent and you've set the opacity in this step to 70 percent, the final opacity for that pixel will be 0.60 x 0.70 = 0.42 (or 42 percent). |
Default: 100 |
| X offset pixels | In | The horizontal (X) offset in pixels to place the overlay image. Positive values shift the image right, negative values left. If using one of the 'left' alignments, it is measured from the left side. If using one of the 'right' alignments, it is measured from the right side. If using one of the 'center' alignments, it is measured from the vertical center of the image. If using 'resize to fit', this value is ignored. |
Default: 0 |
| Y offset pixels | In | The vertical (Y) offset in pixels to place the overlay image. Positive values shift the image down, negative values up. If using one of the 'top' alignments, it is measured from the top. If using one of the 'bottom' alignments, it is measured from the bottom. If using one of the 'middle' alignments, it is measured from the horizontal middle of the image. If using 'resize to fit', this value is ignored. |
Default: 0 |
| Log output level | In | Choices: Minimal, VerboseThe level of execution detail you want to appear in the log. |
Default: Minimal |
| File list | Out | The list of pathnames for the overlayed images that were created. |
(Italics = required parameters)
Notes
The [Images] Overlay module provides a method for taking one image and inserting it or overlaying it over top of one or more images. This is useful for adding a visible watermark or frame, to a number of images at once, as well as a variety of other use cases. For the most flexibility, the overlay image should be in the PNG graphics format, so that it can utilize the transparency features of this format. The module does allow specifying opacity; this is applied over the entire image and is not equivalent to transparency. When transparency is used in the overlay file, you can control the effect down to each individual pixel in the overlay image.
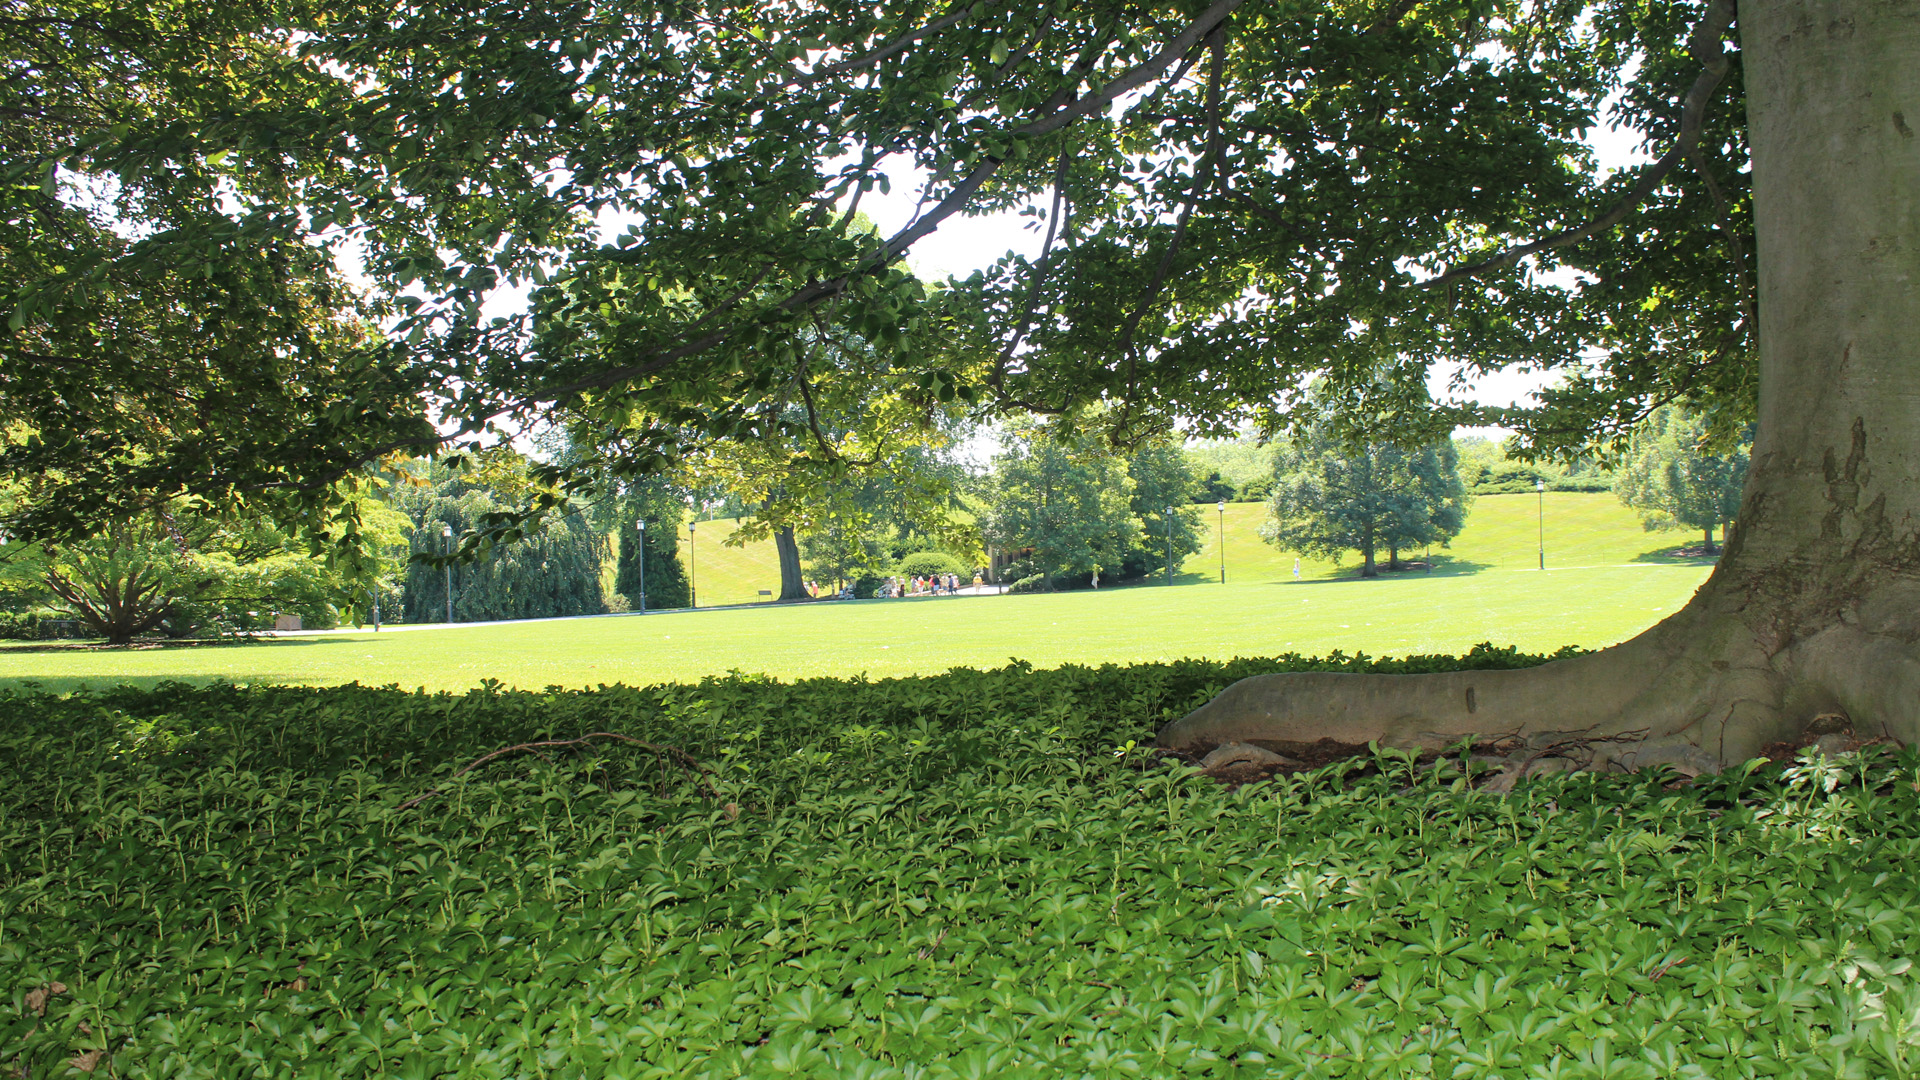
Below you will see some examples of using PNG based image files to achieve a few very effective visual effects. First we start with our original image, and then each of the following images uses a different overlay image to create the output image.
Watermark Effect
The first example we have is an overlay image with the transparency level set in the image itself; it can create a very nice and clean looking visual watermark effect. This can easily be applied to images in bulk using the [Images] Overlay module and your own custom overlay image.

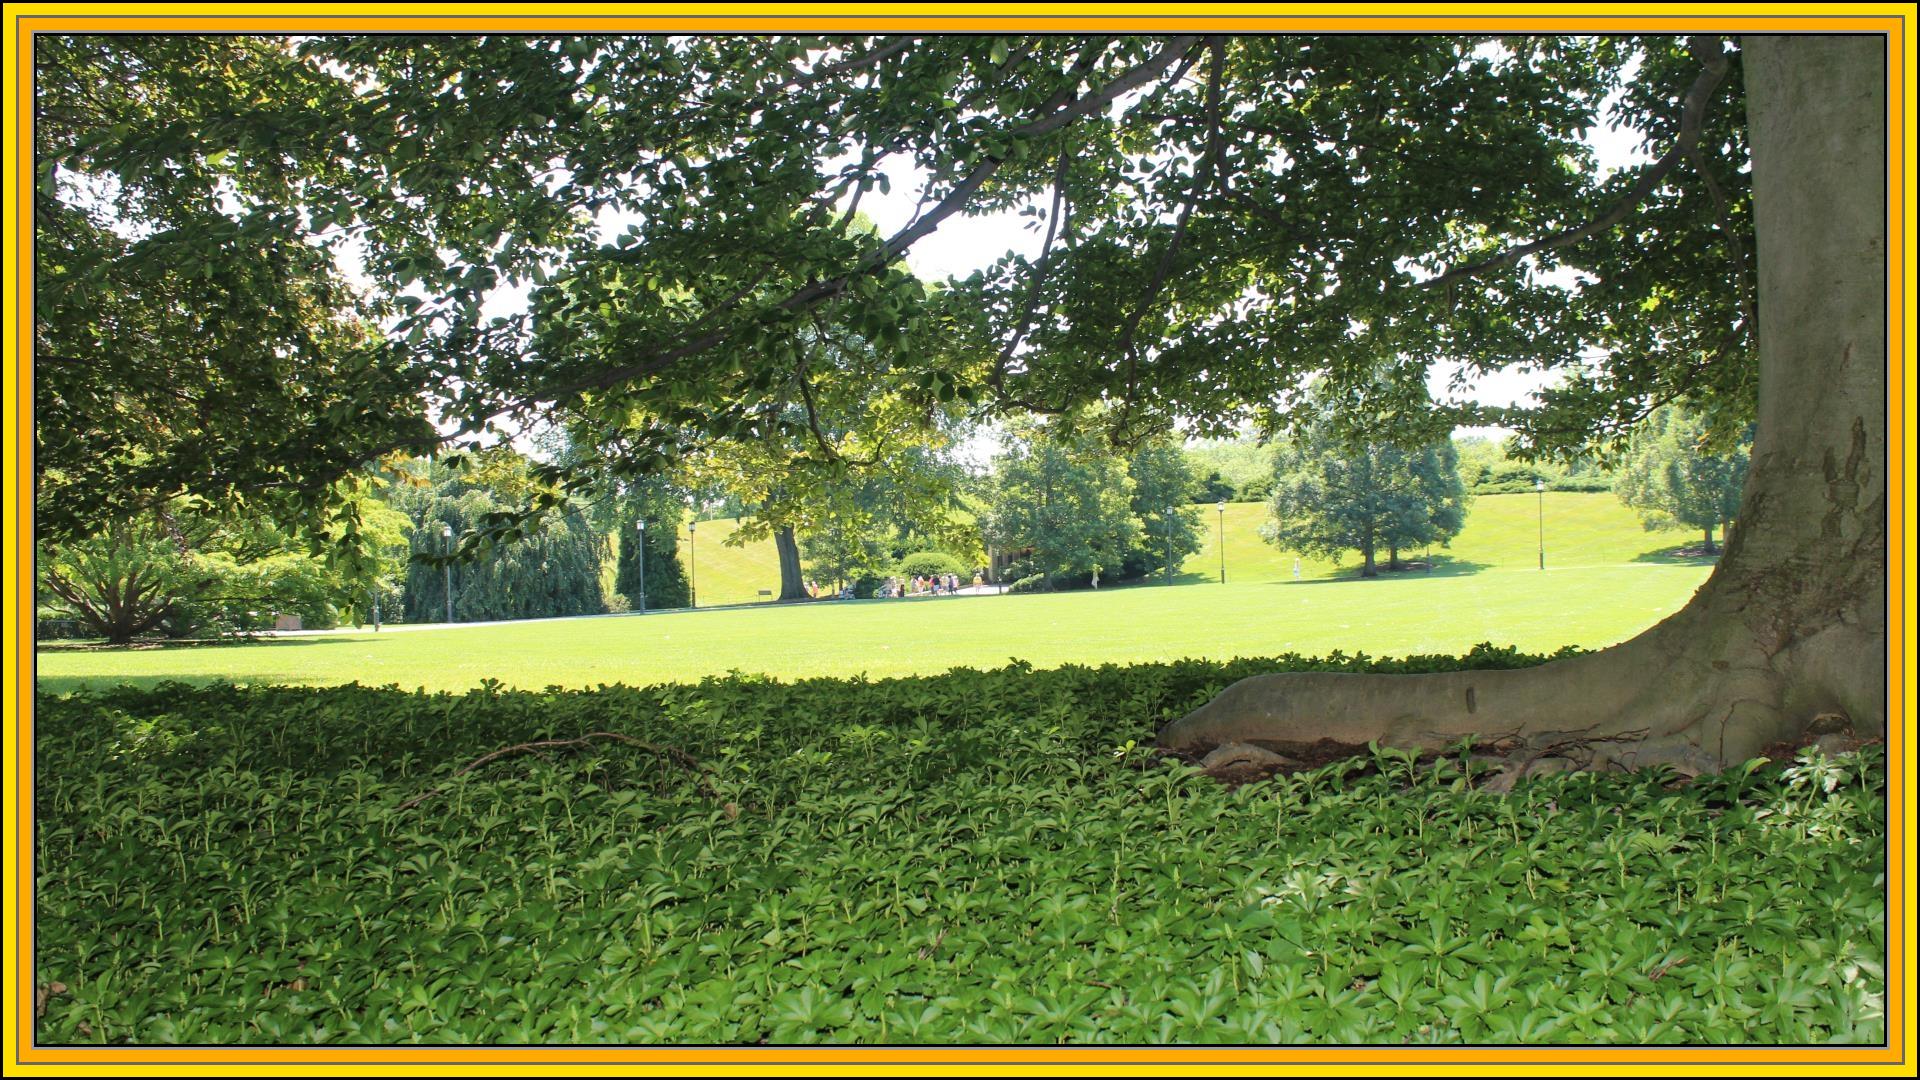
Frame Effect
Next we show how a frame effect can be applied to the source images. The overlay image created in this effect simply draws an opaque frame around the border of the image, and leaves the center completely transparent. When overlaid onto your source images, the output image(s) will add a nice consistent frame to them.
Inset Effect
Finally in our examples, we show how you can add an inset image using the overlay module. This example inset image mimics the addition of current weather information over the source image.
