Configuring the JobServer.NET service to run with a domain account
Q100036: Configuring the JobServer.NET service to run with a domain account
By default, when JobServer.NET is installed on a Windows Server, it is installed to run using the Local System account. This is a special account commonly used by Microsoft Windows services to access resources on the local machine, or when the machine is a member of an Active Directory network, the services can access network resources. This means that the JobServer modules have access to many resources on the machine or member network. If you are providing access to JobServer.NET to users whom you need to provide more granular security access to, then you might want to run JobServer.NET under a specific domain account that might have more limited access.
The details of the steps for setting up the service to run as a domain account are outlined in general in this article. This is only a general guideline in how to configure and get JobServer.NET running in a more restricted fashion. To do so successfully, you must understand and properly configure the resources you might use with JobServer using your Active Directory accounts, groups, and permissions. Using and configuring the features of Active Directory are beyond the scope of this article, and should only be changed by experienced network administrators.
Creating Active Directory Users and Groups for use with JobServer.NET
The first step to using domain accounts with JobServer, is to create them if you do not already have one specifically for that purpose. For this example, we will be using the example values of ExampleDomain as the Active Directory domain. In your Active Directory users, create an account ExampleJsnDomainUser in that domain. Thus we now have a domain account ExampleDomain\ExampleJsnDomainUser.
The next step would be to go to the machine that JobServer.NET is installed on, and create a local group on that machine called JobServerServiceGroup. Add the login as service permission to the JobServerServiceGroup. Then add the domain user to the local group.
On the machine running JobServer.NET, make sure that the JobServerServiceGroup has full permissions to the following folders:
| Folder | Description |
|---|---|
| C:\ProgramData\XCENT | The path that the JobServer application uses to store local data at runtime. |
| C:\Program Files\XCENT | The path that the JobServer application is installed into. |
Finally, a step is needed to allow the service to have http.sys access permissions to open the required port with the encryption bindings for the management tool. This is done by opening an elevated command prompt. To do so, open a command prompt with Run as Administrator permissions and then run the following command in it.
netsh http add urlacl url=https://*:7901/ user=JobServerServiceGroup
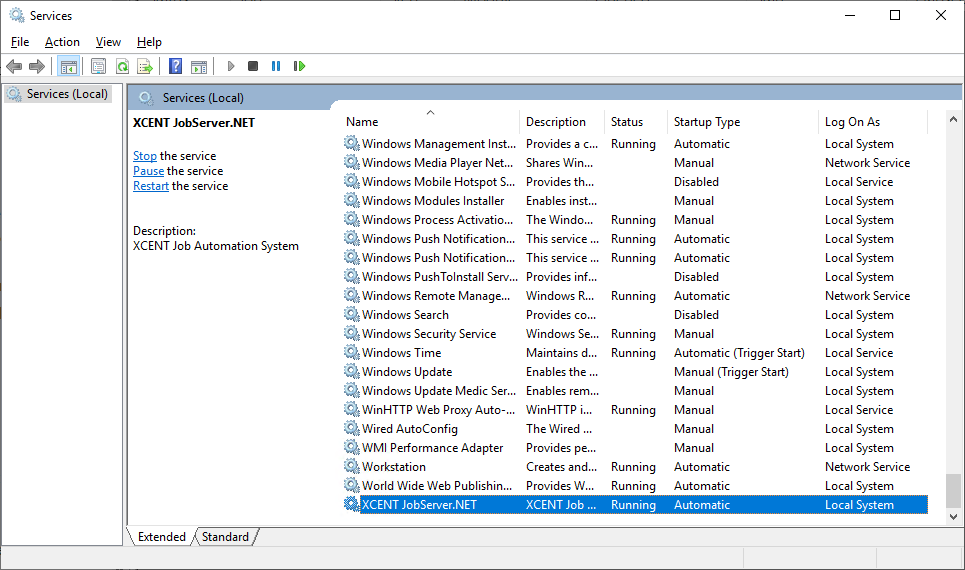
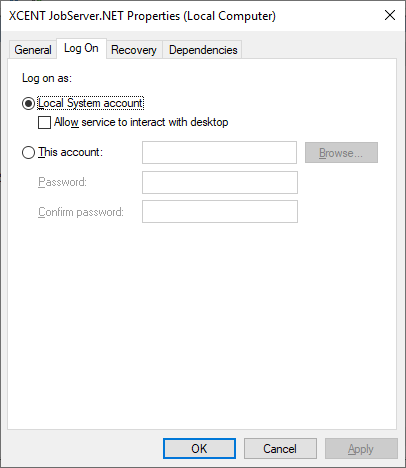
Once these steps are taken, you can change the service to run under the domain account. Open services and find the XCENT JobServer.NET service. Stop the service. Open the properties for the service and go to the Log On tab. Change it from the Local System account to This account and provide the domain account you created above. Once you click OK, you will know you have successfully configured the service if it starts back up and stays running, then you are able to open and connect using the Desktop Management application.