Implementing Custom Modules for JobServer.NET
Q100030: Implementing Custom Modules for JobServer.NET
JobServer.NET includes a variety of triggers and modules which allow for easily creating a number of useful types of processes. However, one thing that can really make JobServer.NET a very powerful tool within your organization is by creating custom modules for it. Your own custom modules can be used both stand-alone within a JobServer job definition, as well as work with and communicate with all of the included modules.
A simple example is that you have a File Watcher trigger that monitors a folder that your sales department might drop purchase order forms into. The file watcher will gather the list of files for you and pass them into your custom module for your own processing. Then you can even pass the list of files you processed out to the [Files] Compress module to keep a history of files for later auditing, data validation, or error recovery.
Requirements
In order to get started creating your own custom modules, there are a couple baseline requirements you will need to have.
- You should have experience developing applications in
C#. - Your development machine must have at least
.NET Framework 4.8.0installed. - You must have
Visual Studio 2019 or later, for creating custom module DLLs that JobServer.NET will be able to utilize. - You should be familiar with using
NuGetfrom within Visual Studio.
Step by Step
Open Visual Studio and start by clicking on the option to Create a new project. On the next screen, you want to select Class library (.NET Framework) as the type of project you want to create. Note that you need to make sure it has .NET Framework in the title. Then click the next button when you are ready.
For our example, we are going to change the Project name to MyCustomModules, and the Location to D:\Temp\JobServer\Tutorial, or whatever location you want to store your project. By default, the Solution name should be the same as the Project name, and there should be a checkmark in the option to Place solution and project in the same directory. Next, set the target version of the framework to .NET Framework 4.8. Note that Framework 4.8 currently provides the maximum amount of compatibility with legacy versions of Microsoft Windows, as opposed to version 4.8.1 at the time of this article. Then click the create button when you are ready.
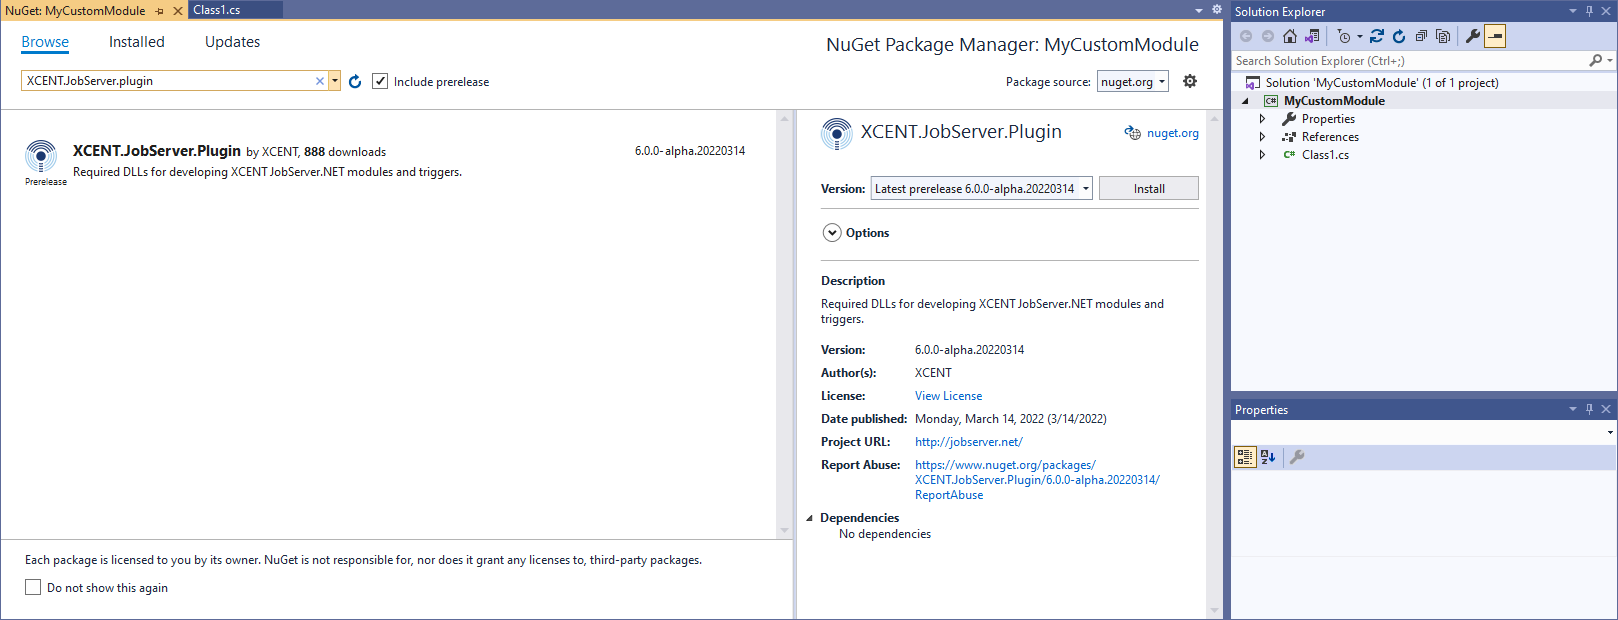
In Solution Explorer, right click on the MyCustomModule project and select Manage NuGet Packages from the menu. In the Nuget Package Manager window, click on the Browse tab to activate. In the search field underneath the tabs, type in XCENT.JobServer.plugin. It should list the Plugin DLL which is used to allow JobServer.NET to recognize and load your custom module. Click the Install button on the right side panel and you will be shown the Preview Changes dialog, accept that, then the License Acceptance dialog, accept that, and then the package will be automatically added to your project.
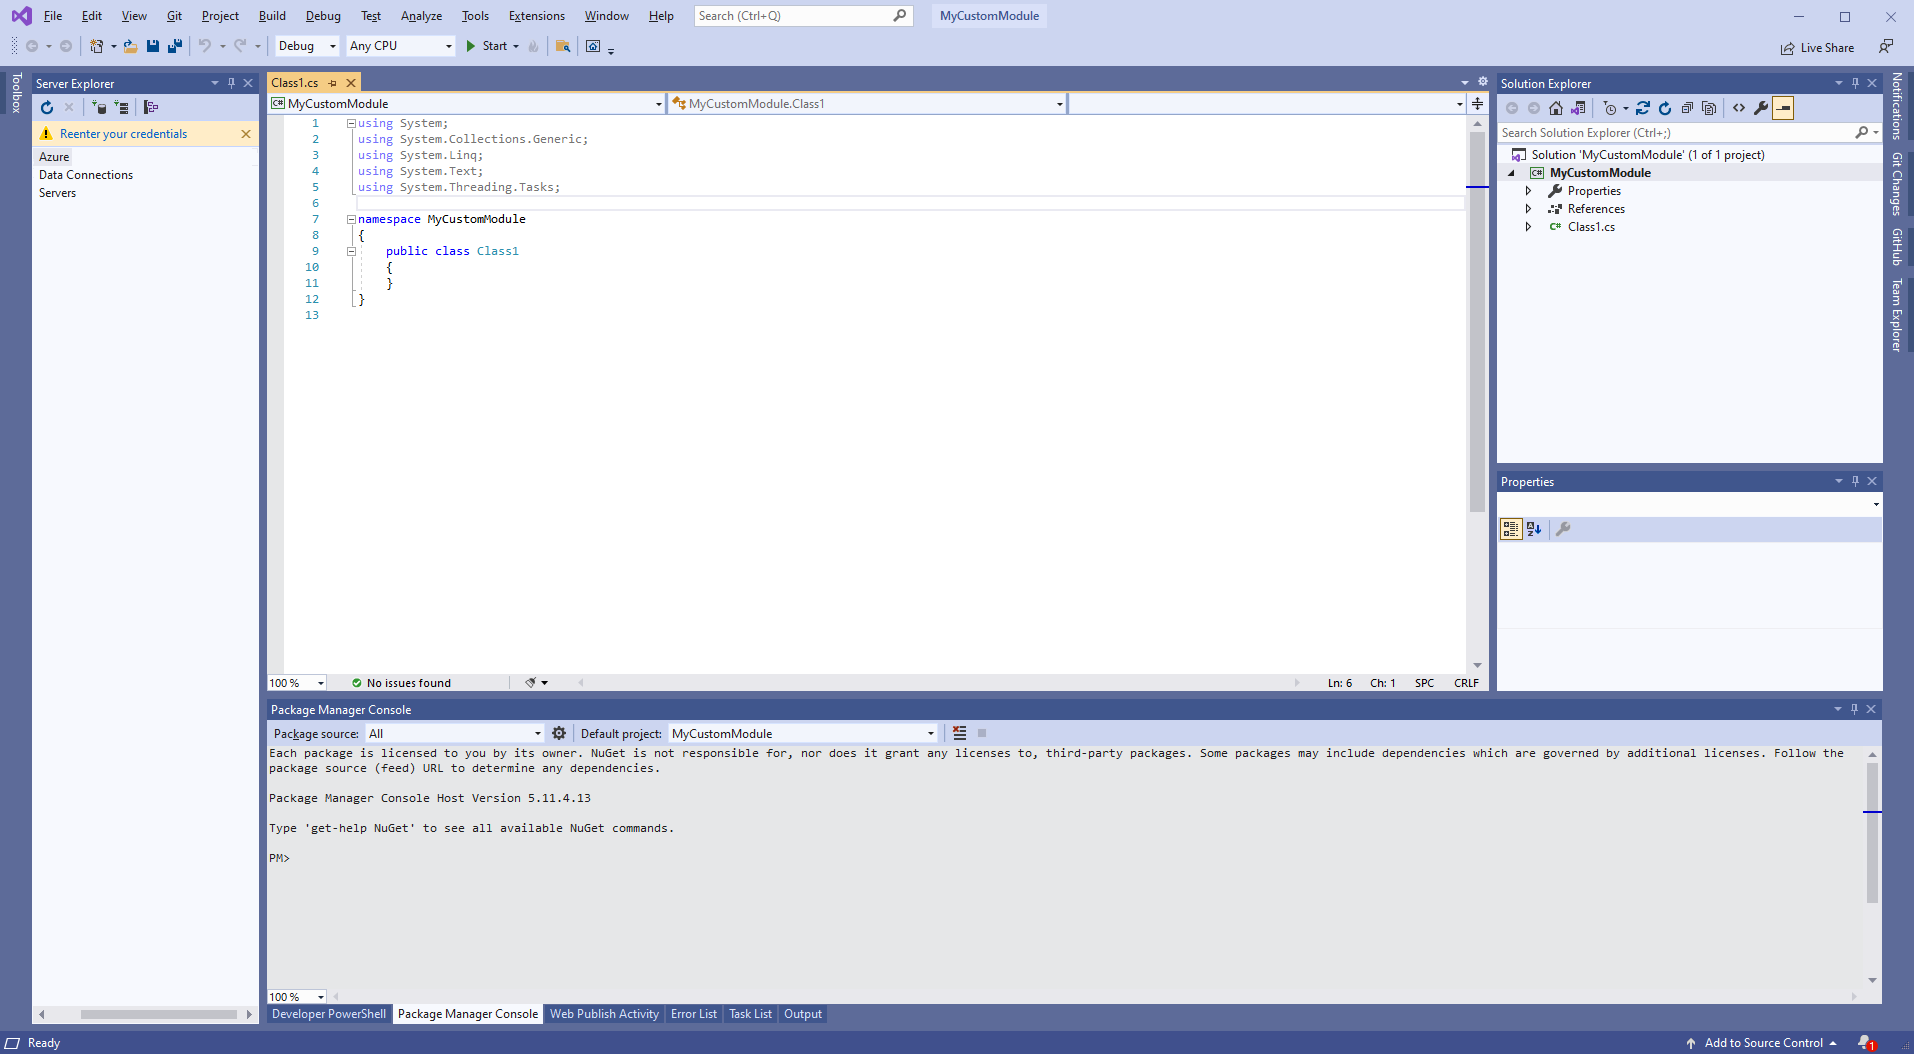
We are going to use the empty class file that Visual Studio created as part of the class library project. Find the Class1.cs class file and rename it to SampleModule.cs. When Visual Studio prompts you to change all the references to this Class1 class, click Yes and open the file in the editor if it is not already open. The first thing we are going to do to set up this class as a custom module is add the using statements shown below to the top of the class file.
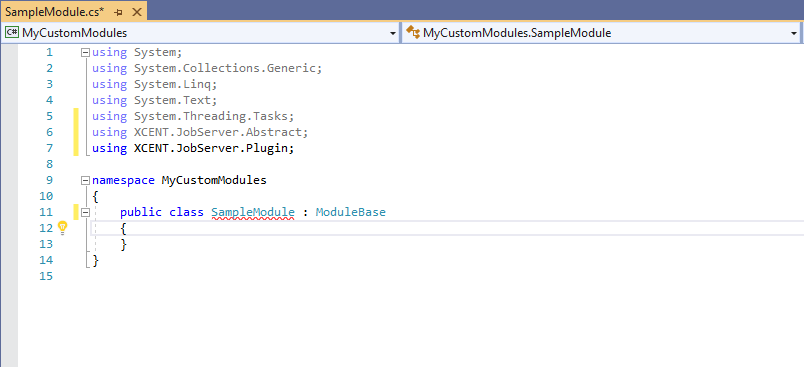
using XCENT.JobServer.Abstract;
using XCENT.JobServer.Plugin;
The next step is to make our class a subclass of JobServer.NET’s ModuleBase class. We do this by typing : ModuleBase after the name of the class in our project file. We now have a class ready for the implementation step.
For the first part of the minimum items we need to add for an implementation, we add the Description and InfoURL properties. In the class, add the following two lines:
public override string Description { get { return “The description of my module.”; } }
public override string InfoURL { get { return @“https://kb.jobserver.net/Q00001”; } }
These two lines can be used to describe and provide additional information to the end user of your custom module. The first, Description, should be a basic human readable text description of what the module does. The second, InfoURL, should be a link to additional information. You should change this link to point to an accessible page for your JobServer users that describes any technical or operational information that they may need while using your module. The example shown in the line above points to an empty entry in the JobServer.NET knowledgebase.
The next part is adding any input or output parameters we want our module to have. Input parameters allow a job definition to send our module information at runtime. Output parameters allow our module to provide information that is available for modules that are executed after our module has finished. A single parameter can also be both an input and output parameter. To create parameters, we just add regular public variables to our class and then we just use attributes on them to define each one as a parameter for the module. Let’s add the following lines.
[ParamDef(Caption: "Item count", Description: "The number of items we want. ", ModuleParameterDirection: ModuleParameterDirection.In, IsRequired: true) ]
public int ItemCount { get; set; }
[ParamDef(Caption: "Item caption", Description: "The item we want. ", ModuleParameterDirection: ModuleParameterDirection.In, IsRequired: true) ]
public string ItemCaption { get; set; }
[ParamDef(Caption: "Item output", Description: "The composed item description we want. ", ModuleParameterDirection: ModuleParameterDirection.Out) ]
public string ItemOutput { get; set; }
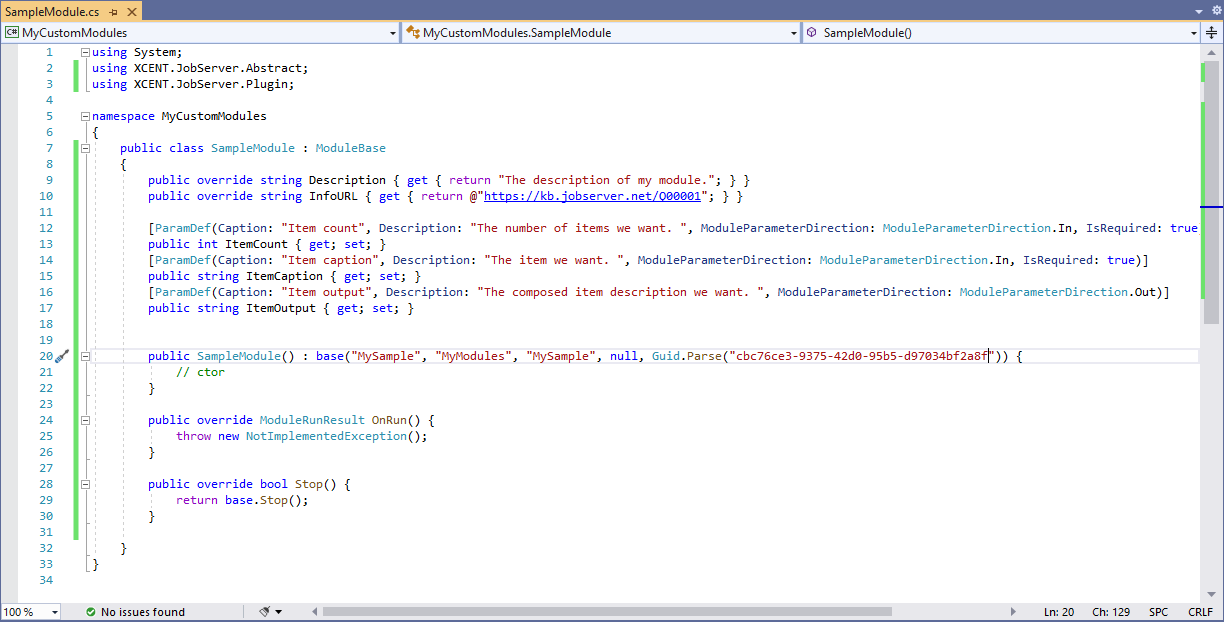
The final part of creating the structural parts of our custom module is the required method implementations. The class constructor must properly initialize the underlying base class constructor, and we must implement the OnRun() and the Stop() methods. The example shown below is the bare minimum needed to implement this code, with one more minor addition.
public SampleModule() : base("MySample", "MyModules", "My Sample", null, Guid.Parse("yourGuidHere")) {
    // ctor
}

public override ModuleRunResult OnRun() {
    throw new NotImplementedException();
}

public override bool Stop() {
    return base.Stop();
}
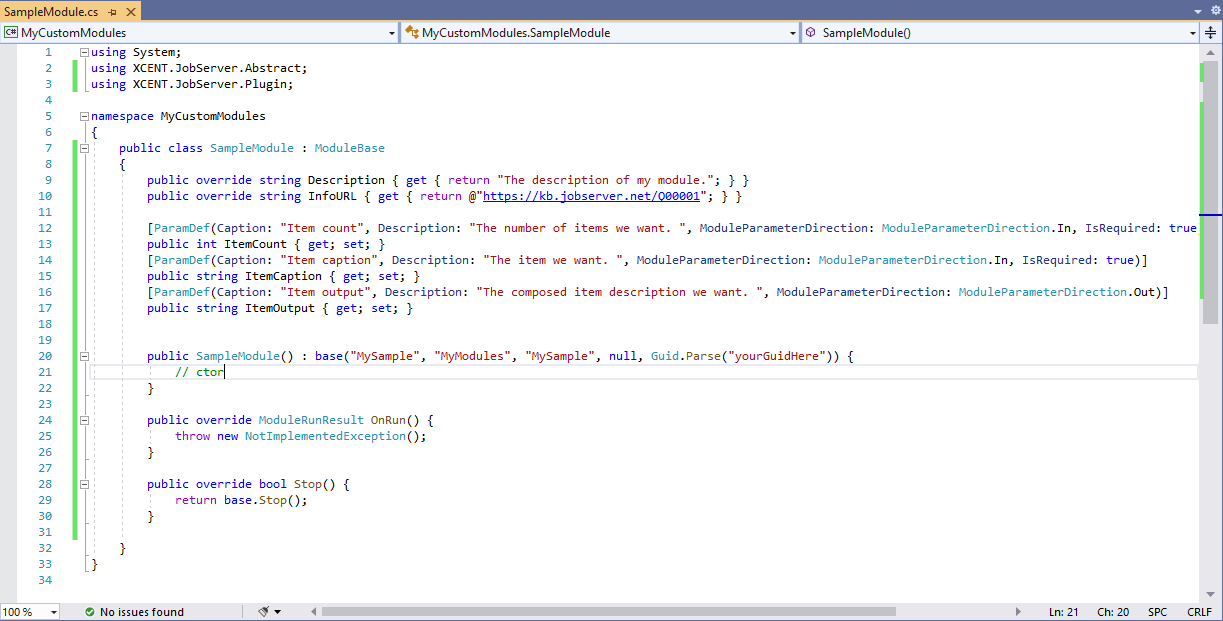
A quick visual will show how this should all be starting to look in your Visual Studio project.
To make this the bare minimum functional code implementation, we need one last piece. Every JobServer.NET plugin, must implement its own unique Guid. If we look at our code for the constructor, you should see where we left a place for it. Note that the Guid must be statically defined for the module. It should not change for the life of the module. If you don’t already know a quick and easy way to generate a new unique Guid, just open a PowerShell command prompt and type in the command as shown below.
[guid]::NewGuid()
Then you can simply copy and paste the unique Guid your development machine generates and paste it into the constructor method implementation where the "yourGuidHere" message is acting as a placeholder. Do not use the Guid in the example code. Create your own unique Guid for every module that you create.
Now that you have reached this point, you have a project that will properly build a DLL that JobServer.NET would load and recognize as a valid module. It would show up in your list of modules as [MyModules] My Sample. The only issue is, this OnRun() method as it is currently implemented, does not do anything useful, unless you want to see what a poorly behaved module that throws an unhandled exception does. Note that JobServer would record the exception and log the details for later diagnosis.
So, lets add a little bit of code to show how we might do some real work by using the values provided by the input parameters and returning a value on the output parameter we have defined. First, add the line below to add a private variable a real module might use. Place it immediately below the public definition of the InfoURL parameter.
private bool StopRequested = false;
Next, get rid of that throw new exception in the OnRun() method implementation and replace it with this code below.
ExecutionOutcome outcome = ExecutionOutcome.Success;
try {
    ItemOutput = ItemCount.ToString() + " " + ItemCaption;
}
catch(Exception ex) {
    this.LogError(ex);
    outcome = ExecutionOutcome.Failure;
}
return new ModuleRunResult { Outcome = outcome };
And finally, in the Stop() method implementation, remove the line with the return command and add this code.
StopRequested = true;
return StopRequested;
Now if you build the solution, you will now have a real module which will accept multiple input parameters and will return a value on an output parameter which you have the option to use in a later step in a job definition. If you want to try your module in a running JobServer service, see the article Q100120 Installing and updating a custom JobServer module.
Next Steps
To expand on this, notice how we added the StopRequested variable. If the code in your implementation of the OnRun() method was iterating through a large number of processing steps, your code should periodically check to see if it has been changed to true and if so, it should break out and stop processing. This allows your module to attempt to shut down as quickly as possible if the JobServer is attempting to stop the job or step for any number of reasons. This allows your module to preserve work that is already complete, or initiate a proper database rollback, or any number of other steps that and appropriate and allow your module to shut down as cleanly as possible.