[Images] Constrain
Q100029: [Images] Constrain
Constrains an image to the specified dimensions. Optionally can remove original image when successfully saved to target folder.
| Parameter | In/Out | Description | Other Info |
|---|---|---|---|
| File source | In | The file source is a list of one or more files to process, using fully qualified pathnames, such as a FileList output parameter from another module. A typical example being the [Files] Find module. |
|
| Target folder | In | The destination folder for the image(s) once it has been successfully constrained. | |
| Delete source files? | In | Check this option if you want the source files to be deleted after being successfully constrained. | Default: False |
| Sizing mode | In | Choices: Crop, ScaleWhen the source image and the constaint size do not have the exact same aspect ratio, determine if the sizing mode should CROP the source image to fit, or if it should SCALE the image to cover the requested size. |
Default: Crop |
| Width | In | The desired target size of the image width in pixels. This value can be left blank if the height is set and then the constrain operation will determine width based on the requested aspect ratio, or the aspect ratio of the original image. | |
| Height | In | The desired target size of the image height in pixels. This value can be left blank if the width is set and then the constrain operation will determine height based on the requested aspect ratio, or the aspect ratio of the original image. | |
| Aspect ratio | In | If the width or height is not specified, this value will determine the aspect ratio used to generate the output image. Specify as 'width:height' such that an aspect ratio consistent with HDTV would use a value of '16:9'. | |
| Source anchor | In | Choices: None, Top, TopLeft, TopRight, Bottom, BottomLeft, BottomRight, Left, RightWhen using the CROP option for sizing mode, the constrain module will try to maintain or will use the specified aspect ration to generate the output image. If the source image has a different aspect ratio, then the resulting image may leave blank space in order to get the correct output size. By anchoring the source image on one or two edges, it's position within the output image can be controlled. |
|
| Canvas color | In | When using the CROP option for sizing mode, if the output image results in any blank space due to a mismatch between the aspect ratio in the source image and the desired output, then the blank space will be filled with the specified color. Color can be specified in hex RGB format beginning with '#' (e.g., '#000000', '#FF8040') or by common names such as 'black', 'violet', 'CornflowerBlue'. | Default: #000000 |
| Auto rotate on EXIF | In | If image contains EXIF tag with orientation, automatically rotate image accordingly before constraint processing. | Default: True |
| Log output level | In | Choices: Minimal, VerboseThe level of execution detail you want to appear in the log. |
Default: Minimal |
| File list | Out | The output pathnames that were processed. |
(Italics = required parameters)
Notes
The [Images] Constrain module provides a great deal of flexibility by taking source images and having output images generated from them which are constrained to various combinations of control settings. The wide variety of usable options allows for fast work to make images suitable for a range of purposes. It allows quick and easy bulk manipulation of the image or the attributes of photographs. Some simply examples of the type of process you can automate using the module would be taking images provided by a studio photographer, and easily generating copies that are suitable for use on a website in high detail, preview size, as well as thumbnail sizes. All these could be generated within a single JobServer job, while preserving proper aspect ratios and uniform image dimensions.
The File source parameter allows specifying one or more images to process. The list of files can be a simple singular list, or a FileList, such as the output file from [Files] Find module, or the File Watcher trigger. The Target folder parameter can be specified if the modified image should be written to a location different than the path the original image file was found in. These two parameters can be used in combination with the next parameter, Delete source files. This parameter is set to false by default, which means that files listed in the file source will not be modified and will be left intact after the module completes processing. If this is set to true, then the modified image will be written to the chosen destination depending on File source and Target folder. If these are different locations, then the Delete file source option will remove the original file once it successfully writes the modified image to the target folder.
When constraining an image, typically we are referring to constraining a source image which is a larger image (by pixel dimensions), to a smaller size. When we want to do that there are two possible sizing modes that we can use. The image can either be cropped or scaled. This is controlled with the Sizing mode parameter, which can be specified as Crop or Scale accordingly. This working mode, is used in combination with all of the target attributes we will see in more detail using their respective parameters below. These target attributes define a space the image should be constrained to. We will look at an example of images and how Crop and Scale is used to work with them.
Original Image
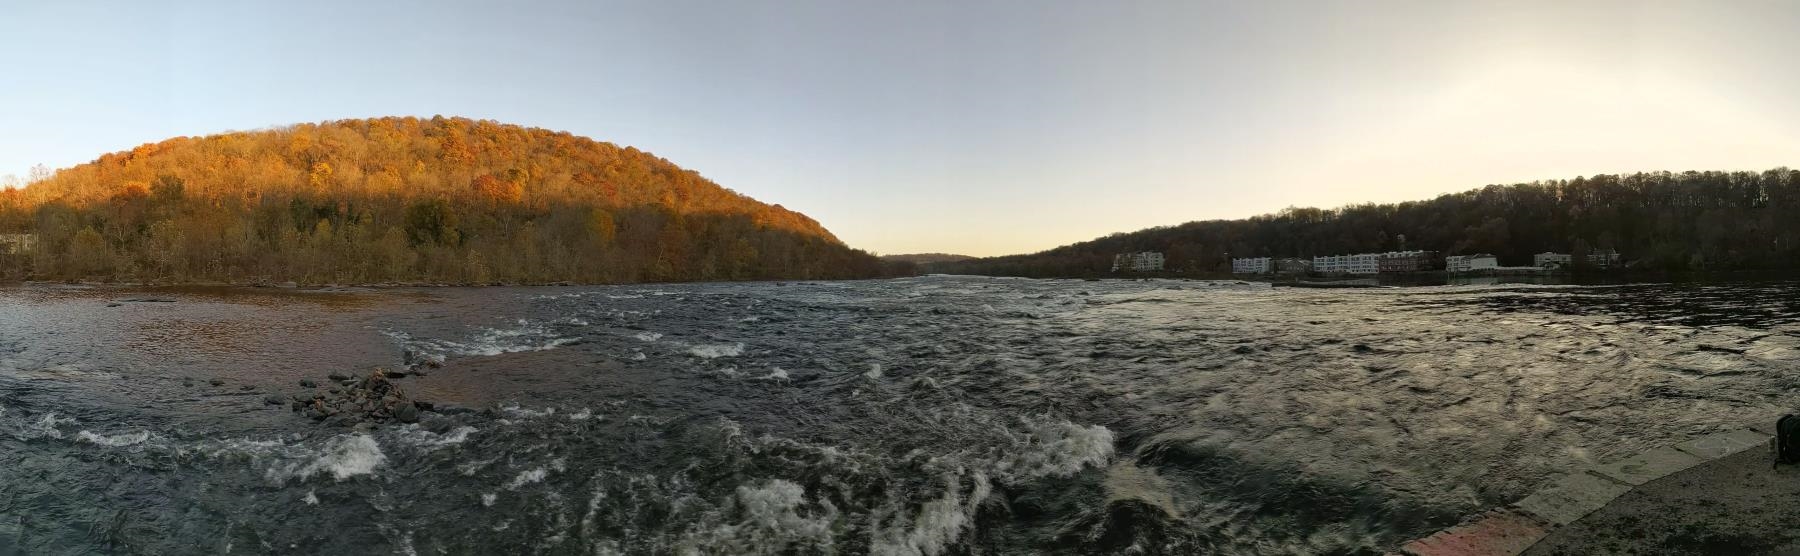
This is the original image we are going to work with using the constrain module. It is a large panoramic image that was generated using multiple smaller images in order to capture a very wide view. We are using this as it is so much wider than it is tall, the exaggerated dimensions of the large panoramic image should help make it obvious what the various modes and settings allow you to do. This version of this image is 1800 by 556 pixels.
Comparing Crop and Scale Modes
In the following example, we are going to show an obvious example of the crop and scale modes. In both cases, the target image is set to 500 by 500 pixels. So both of the following images, have the same constraints, with the only exception being the Sizing mode being set to Crop or Scale.
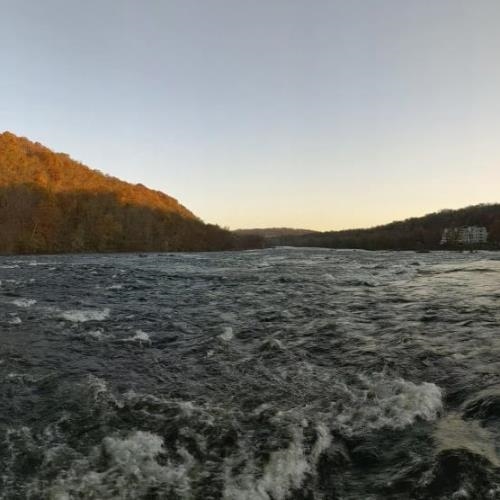
| Crop | Scale |
|---|---|
 |
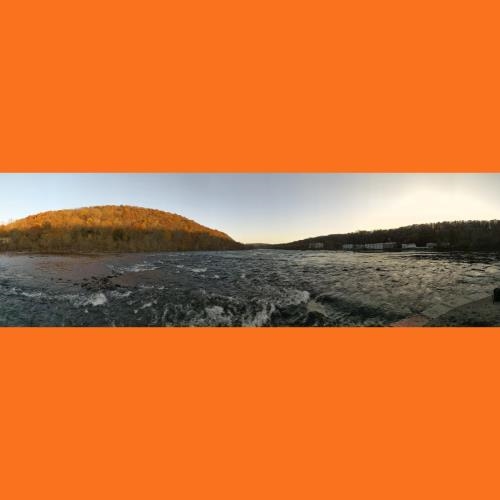 |
| When an image is cropped, the target image is created by cutting off the portions of the destination image that do not fit within the defined constraints. Here we can see that in order to meet those constraints, we must loose pieces of the original source image. | When an image is scaled, the module will do what it needs in order to fit the original source image within the defined constraints of the destination image. Here we can see that in order to meet those constraints, we will see part of the destination image background color. In this example, we set the background color so it is obvious in the new image. |
Width, Height and Aspect Ratio
The [Images] Constrain module works hard to preserve the proper aspect ratio of the source image. If the aspect ratio of the image is allowed to change, then then resulting destination image could wind up looking very distorted. Images will usually look stretched or squashed in either the horizontal or vertical direction if the proper aspect ratio is not maintained. Thus when you are defining constraints for the destination image, the module will do everything it can to prevent your destination image from being distorted in this manner. Thus, when defining the target dimensions of the output image, you can specify either the value for the exact Width and Height parameters. Or, you can specify one of them, along with the desired Aspect ratio. If the aspect ratio is provided, then only the Width, or the Height would need to be specified. The module will automatically determine the proper value for the other parameters in order to maintain the aspect ratio.
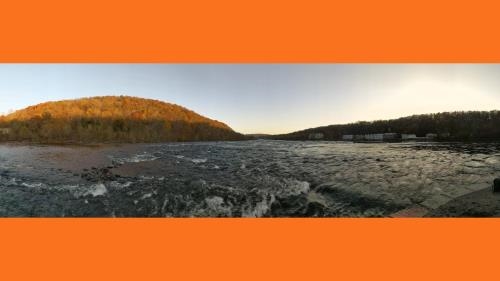
As this image shows, if we stick with a desired target width of 500 pixels as we used in the previous examples, and specify an Aspect ratio value of 16:9, then we wind up with an image that is much closer to the original source image aspect ratio and there is a much less visible background showing. In this specific example, the output image generated is 500 pixels by 281 pixels. This matches the aspect ratio of 16:9 that was specified in our configured constraints.
Source Anchor During Scale Operations
If the target constraint dimensions are larger than the source image, then the Source anchor parameter will provide extra control over how the source is scaled within the target constraints. By default, this parameter is blank, which is effectively the same as setting it to the None option. By not specifying the anchor, the module will automatically attempt to scale the image in the vertical and horizontal axes. Thus if the target constraint dimensions are larger, the source image will appear to be centered on both axes. Otherwise the image can be forcefully anchored by specifying the Source anchor. When the target constraint would be larger on the vertical axis, then the values that specify Top or Bottom will alter the output image.
| Examples | ||
|---|---|---|
| Top, TopLeft, TopRight | Left, Right, None | Bottom, BottomLeft, BottomRight |
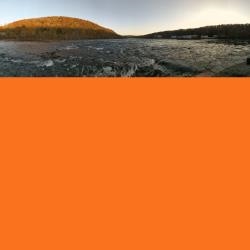 |
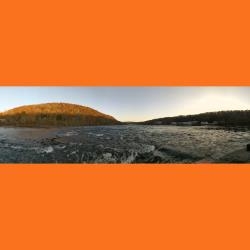 |
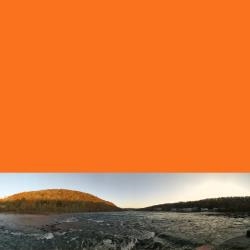 |
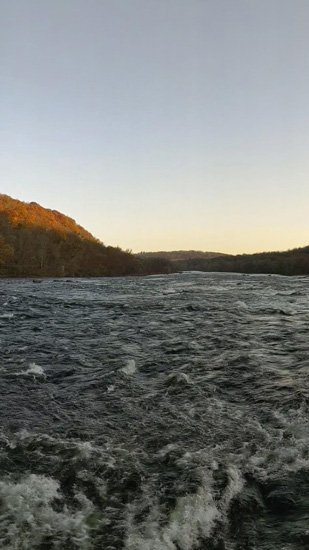
If the target constraint would be larger on the horizontal axis, then the values that specify Left or Right will alter the output image. The examples in the following table are based on a copy of the image from the original we started with, but is only a small portion of the image in order to have an example source image with an aspect ratio that is different. This smaller image is cropped such that it is the same aspect ratio as a vertically oriented image taken on a mobile device/camera.
| Examples | ||
|---|---|---|
| Left, TopLeft, BottomLeft | Top, Bottom, None | Right, TopRight, BottomRight |
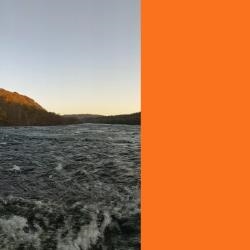 |
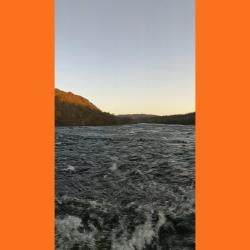 |
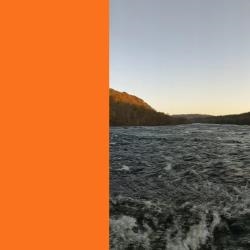 |
Auto Rotation Based on EXIF MetaData
Finally, one of the last parameters for the [Images] Constrain module is the Auto rotate on EXIF parameter. This defaults to the value of true, which means that if the source image contains additional metadata that encodes the orientation of the image, the image will be automatically rotated before any of the operations chosen are performed. This metadata, called EXIF, is common with many modern mobile camera devices which automatically include this information. Normally this helps correct the orientation of the image depending on how the camera was held when the photo was taken. If this automatic rotation is not desired, the option can be overridden by setting the value to false.